I have learned a lot here at Southeast Tech. One such thing is how to print. I never thought I would find this interesting. I knew it was an important part but never thought I would do it myself. I love how much we do and is available here. Teaching us the little things has helped me understand this industry and gives me a taste of what there is. I want to discuss all the settings we go through to be able to print things like our magazine or a poster.
The only ever past experience with a print I have had was back in high school since we always dealt with PDFs until this semester. Whenever I printed before, like back in high school, all you did was make sure everything was on the paper correctly and maybe save paper by making it front and back. But these important settings you need are a check and recheck you always need to be aware of to not affect the printer or have the wrong look or paper. These settings are usually all the same but just a couple of differences, like to be able to accommodate each paper size and kind.

So, the first thing you need to do, assuming you are in Indesign. Is to go to File > Print. Then make sure that you are connected to the right printer, in this case, it’s a printer starting in 172. In Indesign, you then select setup for the next steps. Also in this first tab, you can select how many or what what pages you want to be printed.

Then in setup, you need to make sure to select pages if you need pages or spreads if you need spreads. Then you select which orientation is needed, landscape or portrait. Also in this tab, you want to make sure that your paper size is correct, see if you need to scale to fit or scale to width and height, and select the page position to adjust how the content looks and fits on the paper. Then still in Indesign you go to the bottom and select printer. Here you need to make sure the pages are the same as the ones you selected in the first tab, usually, this would just be all pages. You can also make sure that your printer is the same throughout this entire process. Then you can press the blue print button. You can also look at the print setup options and make sure everything is the same as what you had in the first tab.

Your final setting and options would be finally in fiery. One printed from InDesign, it is sent here where you can two-click or one-click then press the properties button on the top. Either way, you want to view properties. Here you want to make sure that your paper size is still the same. Then here you can choose the duplex, the paper tray, and the paper type you want.
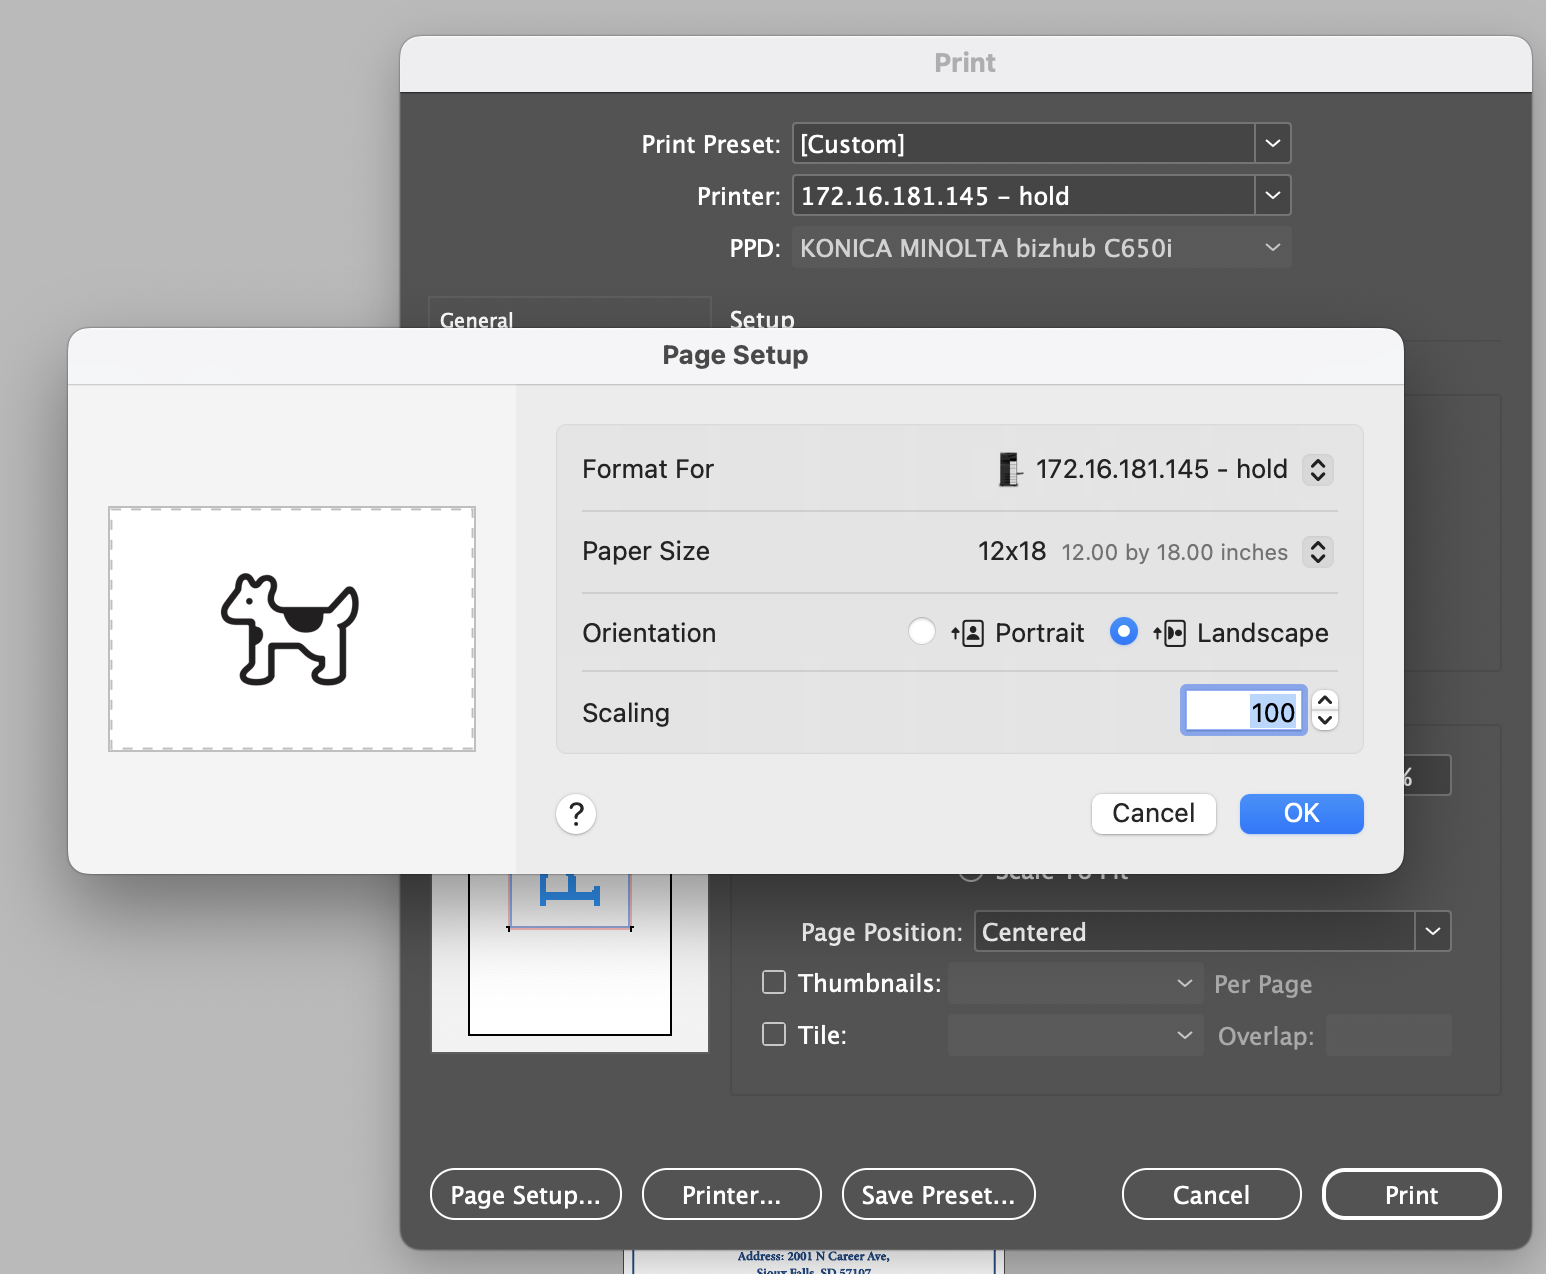
So for example settings for printing our 16-page magazine we made would be the following. You first go to File > Print then connect to the 172 printer. Then in setup, select spread and landscape. You also want the paper size to be 12×18 and the scale to fit to be off, so 100% width and height. Then have the page position centered. Make sure that the settings under the printer and page setup options are the same as the rest. Also, make sure to print all pages. Then in Fiery, in properties, you want the 12×18 paper size again, duplex to be top binding, the paper try to be the bypass try, which is the one on the size for specific paper, then have the paper type be thick 1. And lastly remember to always choose print and hold, not just print.
Me doing this, I was able to figure out that printing is actually really fun. It seems like a simple task but there is a lot more to it, enough that you can get a job in it. I don’t think I could only do this full-time. Nonetheless, it’s still very fun and interesting to do. I love that I was able to learn it and hope to retain this information in the future. And be able to look back here myself if I ever do need a refresher.